I’ve been obsessing over vintage grain sack fabric for a while now. It is the epitome of shabby chic farmhouse amazingness. Look at it… Just look at it!


AMAZEBALLS! I just want to stare at it! Apparently everyone is obsessed with grain sack fabric like I am because when looking to buy some online, the prices are quite hefty. Personally, my budget does not include any type of fabric that is anywhere from $17-$35 per yard. No Way. Sooooo, in true high cotton fashion, I figured out how to make some faux grain sack fabric! As they say, necessity is the mother of invention!
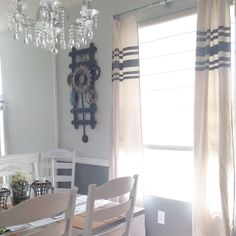
Originally I was wanting to make some pillows out of the grain sack fabric… but then I got to thinking, HOW COOL would french grain sack curtains be!?! I needed new curtains for my kitchen anyways… bing, bang, boom – I had a plan.
<<< I always pinterest my ideas before I do them for inspiration
Let’s get started!
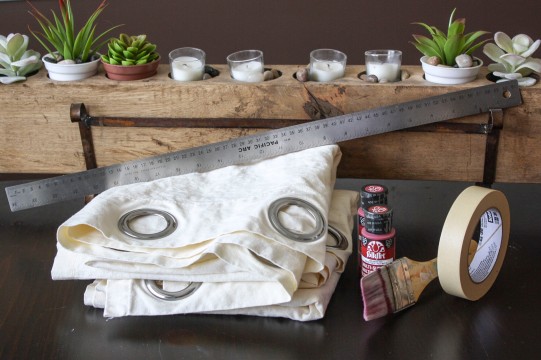
Heres what you need:
- (2) off white canvas curtain panels– I found mine at Old Time Pottery. If you’ve never been there you HAVE TO GO. It is the holy grail of all affordable home decor. BOTH panels together were $12.99. You cant beat that.
- A Ruler– 24 inch works best so you don’t have to pick it up and move it.
- Fabric paint– The Folk Art Multi-Surface Paint is really neat; glass, fabric, ceramic, it paints it all!
- Paint brush
- 1 inch Masking tape– The regular old masking tape works better than the painter’s tape for this project.


First, let me tell you, I had to seriously fight the urge to iron these curtains. Its in my genes to iron, everything. My great-grandmother, Nana, ironed everything… From the curtains, to the bedsheets, underwear and I even remember her ironing money every once in a while. For this project I decided to go against my deep seeded need to iron, and leave them wrinkly because wrinkly better fits the style I am going for.
Okay, now lets begin, measure out your pattern with the ruler. I marked where I wanted my tape on both sides and then just stretched the masking tape between the tick marks. Leave a little bit of tape overhang on both sides because having the curtain taped to the table while painting is very helpful.
My measurements from the bottom of the curtains were:
Tape 1: Between 7.5-8.5
Tape 2&3: Between 9.25-11.25
Tape 3&4: Between 14-16
Tape 5: Between 16.75-17.75


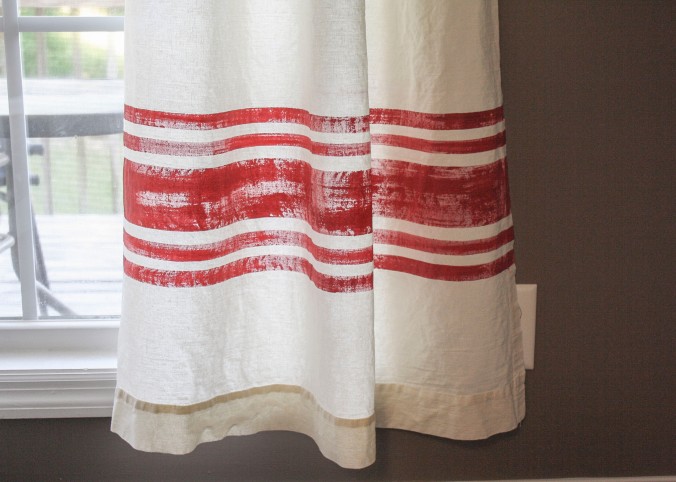
After everything is taped off and pressed down really well, paint messily between the tape. I didn’t make any of my paint even because I wanted it to look worn. Remove the tape once the paint is dry to the touch.


For my pattern I wanted 2 more small lines in the empty space. So, after the first lines were completely dry I taped down the second set of lines and painted them the same way. The first small lines are .75inches wide so I centered the second set of small lines and made them .75inches wide also.
Once the curtains are dry, repeat all of the same steps with your second panel.
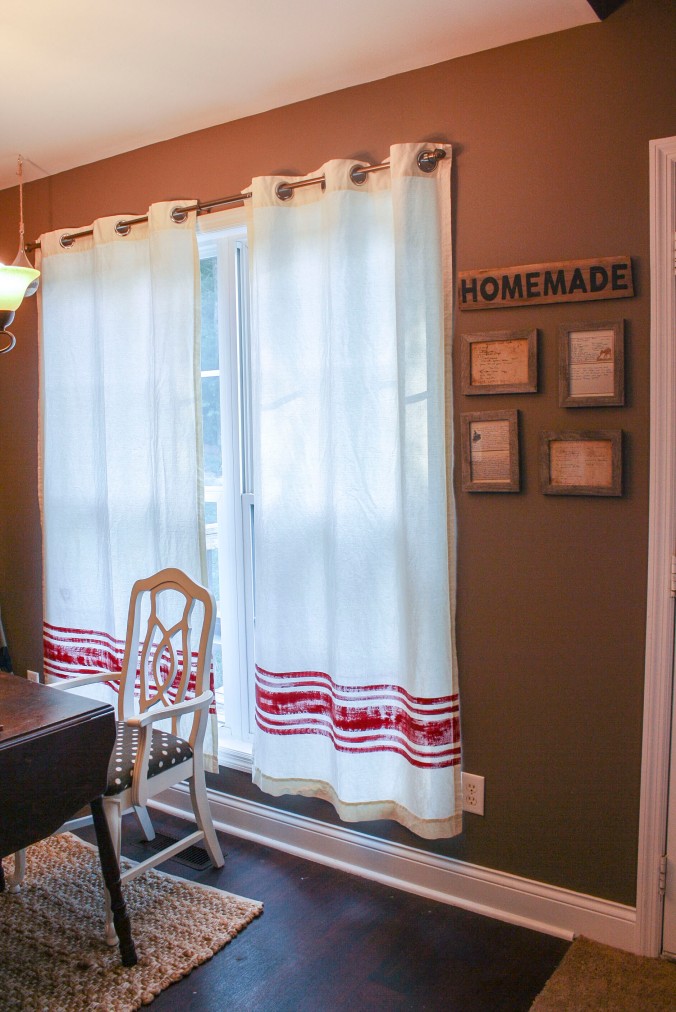
I don’t always re-decorate my kitchen, but when I do I pretend I am Joanna Gaines 🙂
#MostInterestingWomanInTheWorld #FarmhouseFabulous
PS> If you like my “Homemade” recipe wall thats hanging next to my curtains… I wrote a post about it HERE

Ok I am doing this … Sometime. I loooove this look too. Thank you for sharing.
🎧🎤 I’m gonna do it 🎧🎧🎤🎤gonna gonna do it !!
LikeLike