 Contrary to popular belief, I, like many Southerners, don’t actually have a cotton field in my back yard – though I would really love that.
So, what do you do when life doesn’t give you cotton? (& you sure as heck aren’t paying $17 per sprig at the craft store)
By golly, you make your own!
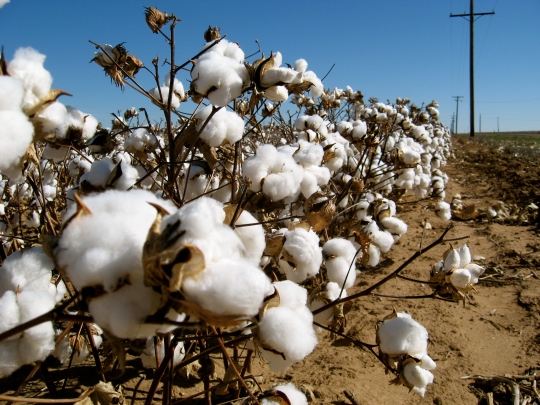
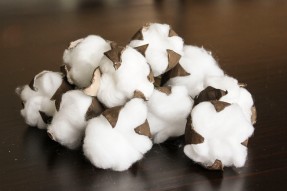
Since I was trying to re-create something from nature, I figured I should take a look at exactly what they look like “in their natural habitat” for reference. I found this picture:
You’ll need:
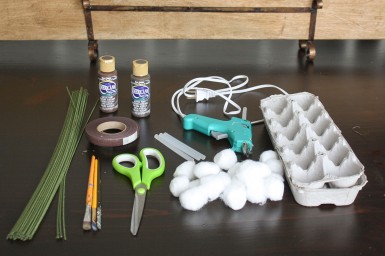
1. Cardboard egg cartons
2. Hot glue gun & sticks
3. Large cotton balls
4. Paint brushes
5. Scissors
6. Beige brown and dark brown paint
7. Floral wire
8. Brown floral tape
Let’s Do This:
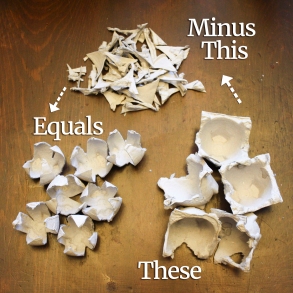
First off, I cut each of the little egg holders in the egg carton into a 4 petal-ed flower shape. For the sake of this tutorial I am gonna call them “cotton pods”. This is the most time consuming part, but I pinky promise it’s worth it in the end!

After the long, grueling cutting process (just kidding- can you tell I am not very patient?), I painted the inside of the cotton pod light beige brown and the outside dark brown. This part doesn’t have to be perfect because nature isn’t perfect. (See the “natural environment” picture above again if you need some inspiration for your non-perfectionism)
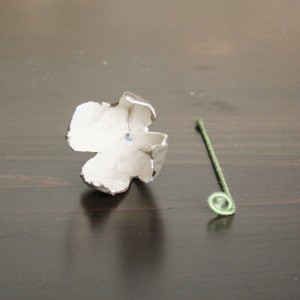
Once I was finished finger painting – not painting with my fingers, but on them. (You’ll understand if you try this DIY), I poked a hole in the bottom of each of my cotton pods and cut a “stem” out of the floral wire – about 5 inches long. Then I curled one end of the wire so once it was attached, it wouldn’t pull through the bottom of the cotton pod.
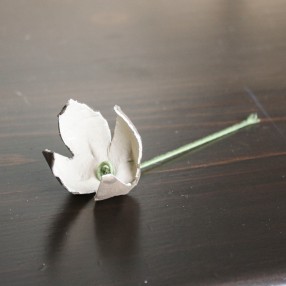
After that, I inserted the wire into the hole at the bottom of the cotton pod and hot glued the twisted end to the inside.
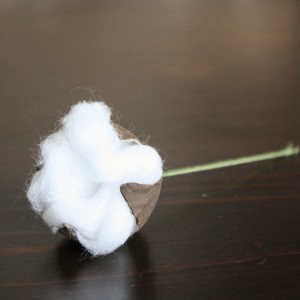 Next, I ripped apart a cotton ball into 3 equal sections and rolled them into their own little balls. I put some hot glue into the bottom of the cotton pod and stuffed the cotton balls into it, pressing firmly so they would stick, then fluffing again.
Look at all of those adorable little cotton stems…
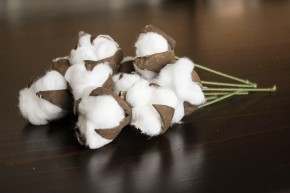
Just look at em’ 🙂

Ok, so after all of that, I attached them each to different lengths of the floral wire with the floral tape and separated my stems in half to make 2 bunches.


Arranging the stems from tallest to shortest, I wrapped the remaining ends of the stems together with more floral tape. I stuck ’em in a whiskey bottle and called it a day (optional, but I thought it was really cute).

Very nice!!!
LikeLike
Love these, great idea.
LikeLike